Prerequisites
- Voting must be enabled for your organization.
- Team Owner permissions in Microsoft Teams and Decisions Admin rights are needed to complete the configuration.
Team Owner: grant voting rights and set vote allocation
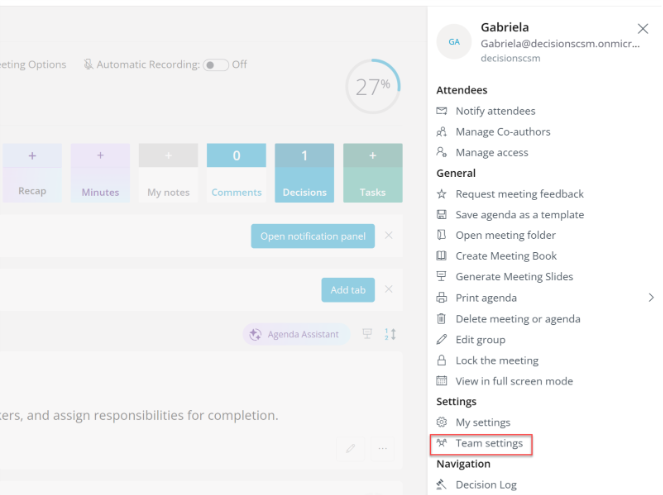
- Open the Agenda in Teams.
- Click on the menu (3 line "hamburger" symbol) and choose Team settings.
- Go to the Member Properties tab.
- Grant voting rights
- Ensure only the relevant team members are allowed to vote.
- Add or remove members as needed.
- Set number of votes per person

- Grant voting rights
- Assign the appropriate number of votes each member can cast for ballots in this team.
Team Owner: Enable the team or channel for voting
- From Team Settings, go to the Decisions Log tab. Voting can be configured at team or channel level.
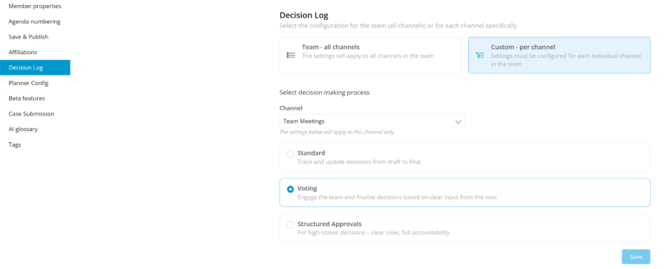
Tip: If you are planning to use this option, voting by email can also be enabled at this stage.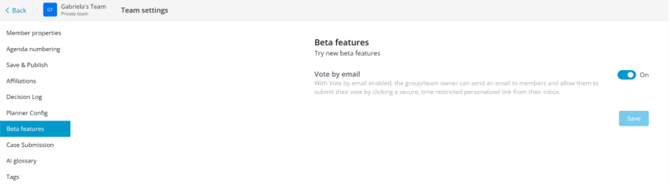
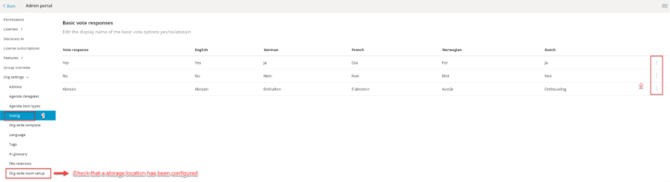
Decisions Admin: customize responses
- Open the Decisions Admin Portal.
- Customize default responses
- Edit the standard options to fit your governance needs, for example: Yes, No, Abstain, or add alternatives such as In Favour, Against, Null.
Tip: If your organization has not deployed custom artifacts yet, set a storage location so voting records and reports can be saved.