NOTE: Only "Owners" within the Team or users identified as agenda Co-Authors are able to create the meeting minutes. To learn how to assign Co-Authors, see Collaborate on Creating Meeting Agenda.
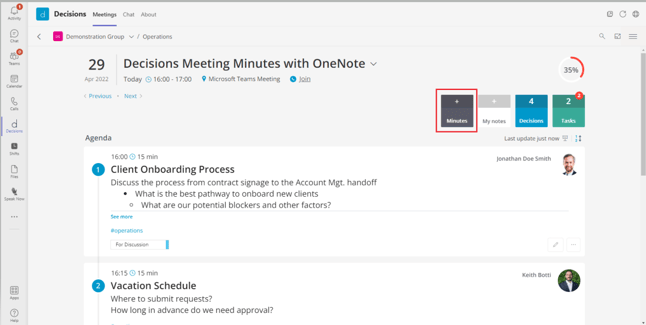
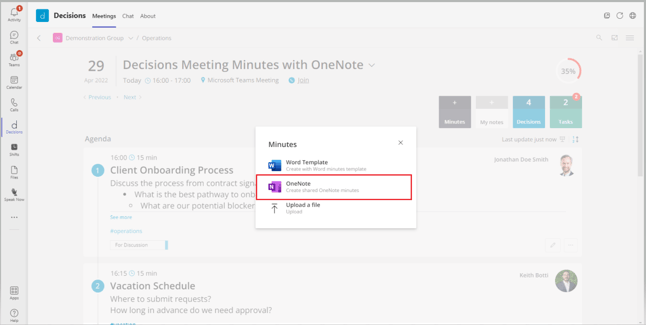
- Click the “Minutes” box at the top of the meeting agenda and select “OneNote”
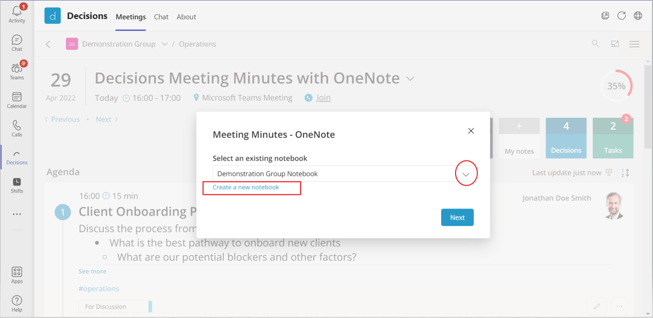
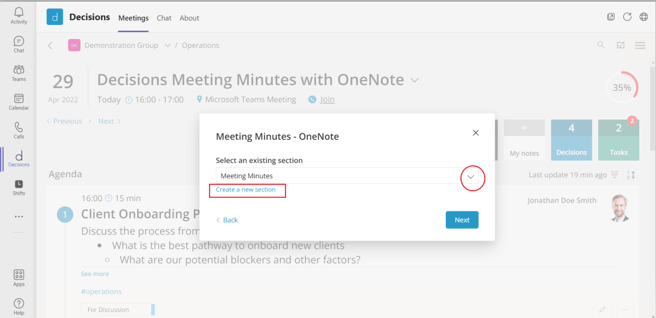
- Choose the OneNote Notebook and Section to save your minutes document
- You can choose from an existing Notebook or Section by clicking on the down arrow or you can create a new one.
- You can choose additional meeting information to include in your meeting minutes and you can mark any absent meeting attendees listed by selecting the checkbox next to each item and then selecting "Create".
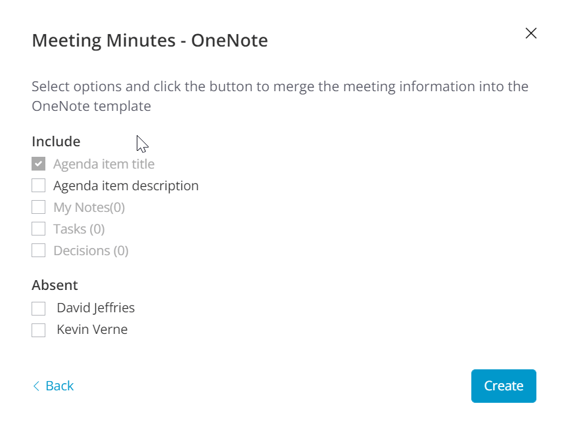
TIP: We recommend selecting to include "Agenda item description" for a more complete minutes document.
- You can include any information recorded in the "My notes" section of Decisions for that meeting. Only the individual who creates the meeting minutes document will have their "My notes" directly inserted into the Minutes document.
NOTE: Please take special precautions when including "My Notes" as the private notes will become public upon including them into the minutes document.
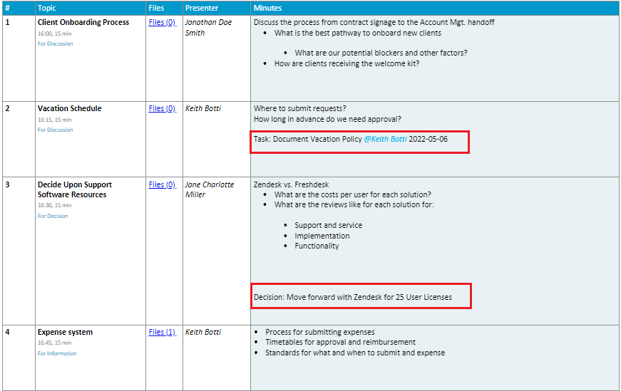
- Tasks and Decisions logged from the agenda will appear in the minutes document in OneNote as seen below:
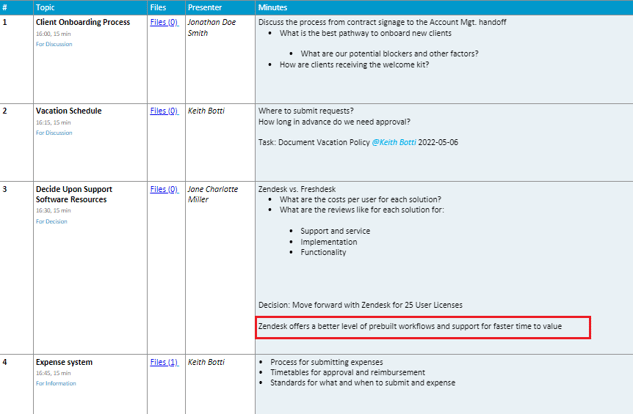
- Take Notes: Decisions for OneNote enables you to take notes directly within each section of the agenda. Those notes will only be saved in the minutes.
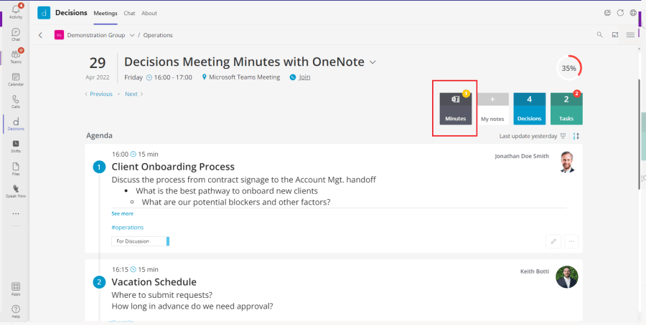
- Upon launching meeting minutes, you will see a yellow circle with a 1 in the black minutes box in the agenda to indicate that you have a minutes document established for this meeting:
More Features:
-
Sync tasks and decisions: Decisions smart language technology will recognize key words within the meeting minutes and give you the option to sync them directly to Microsoft Planner. Learn more