Agenda sub-items
To learn to create your first agenda in Teams check out: create the first agenda
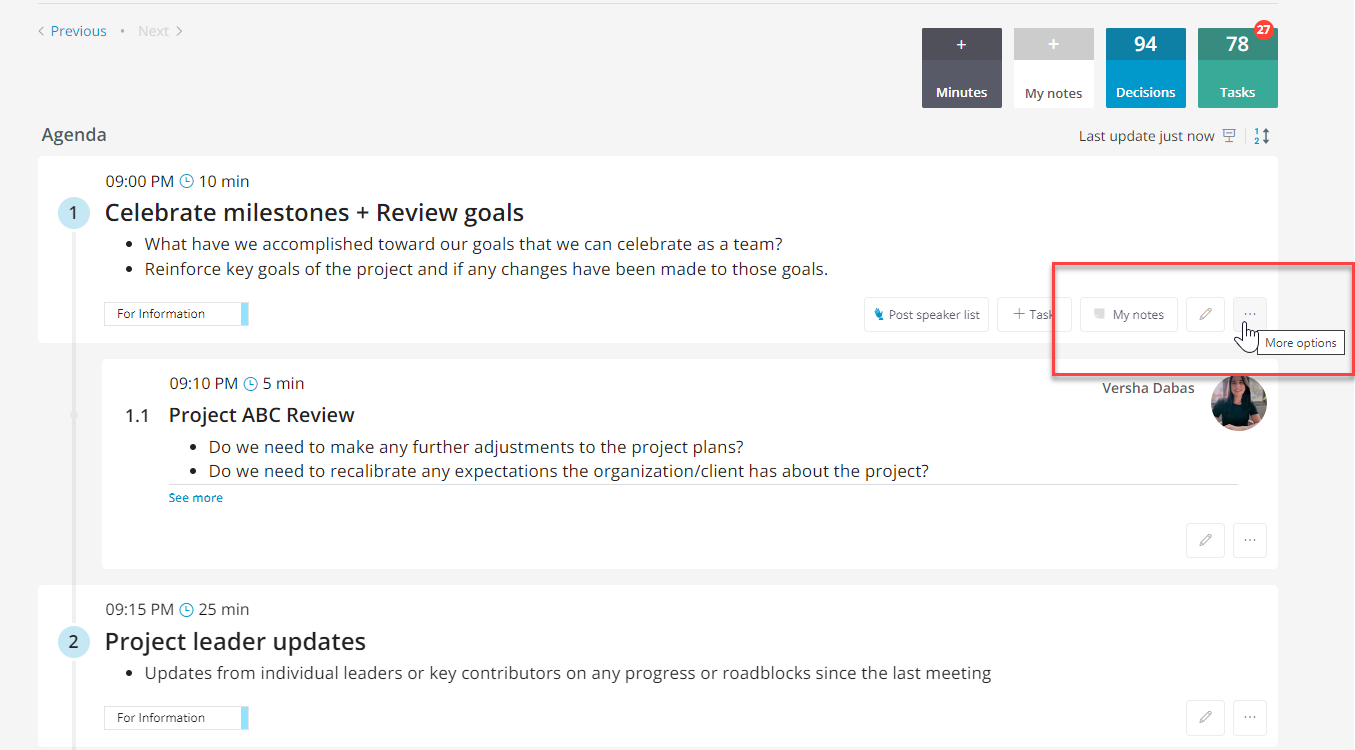
- To get started, go to the agenda item for which you'd like to create an agenda sub-item. Click on the lower right three dots menu bar for more options.

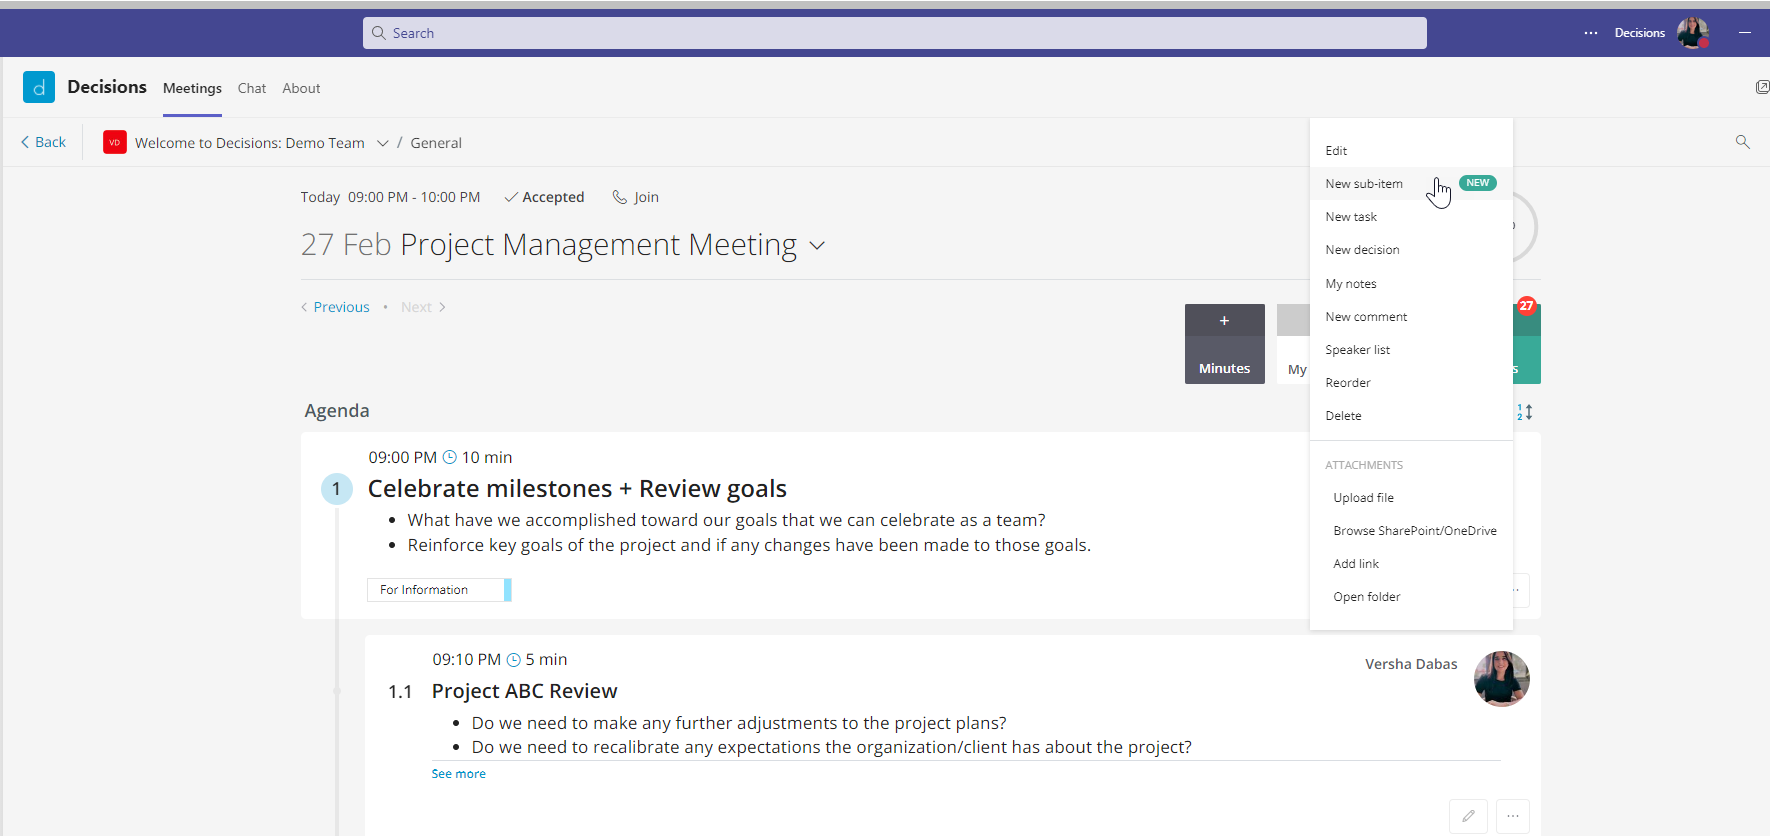
- Click on "New sub-item" to create a sub-item
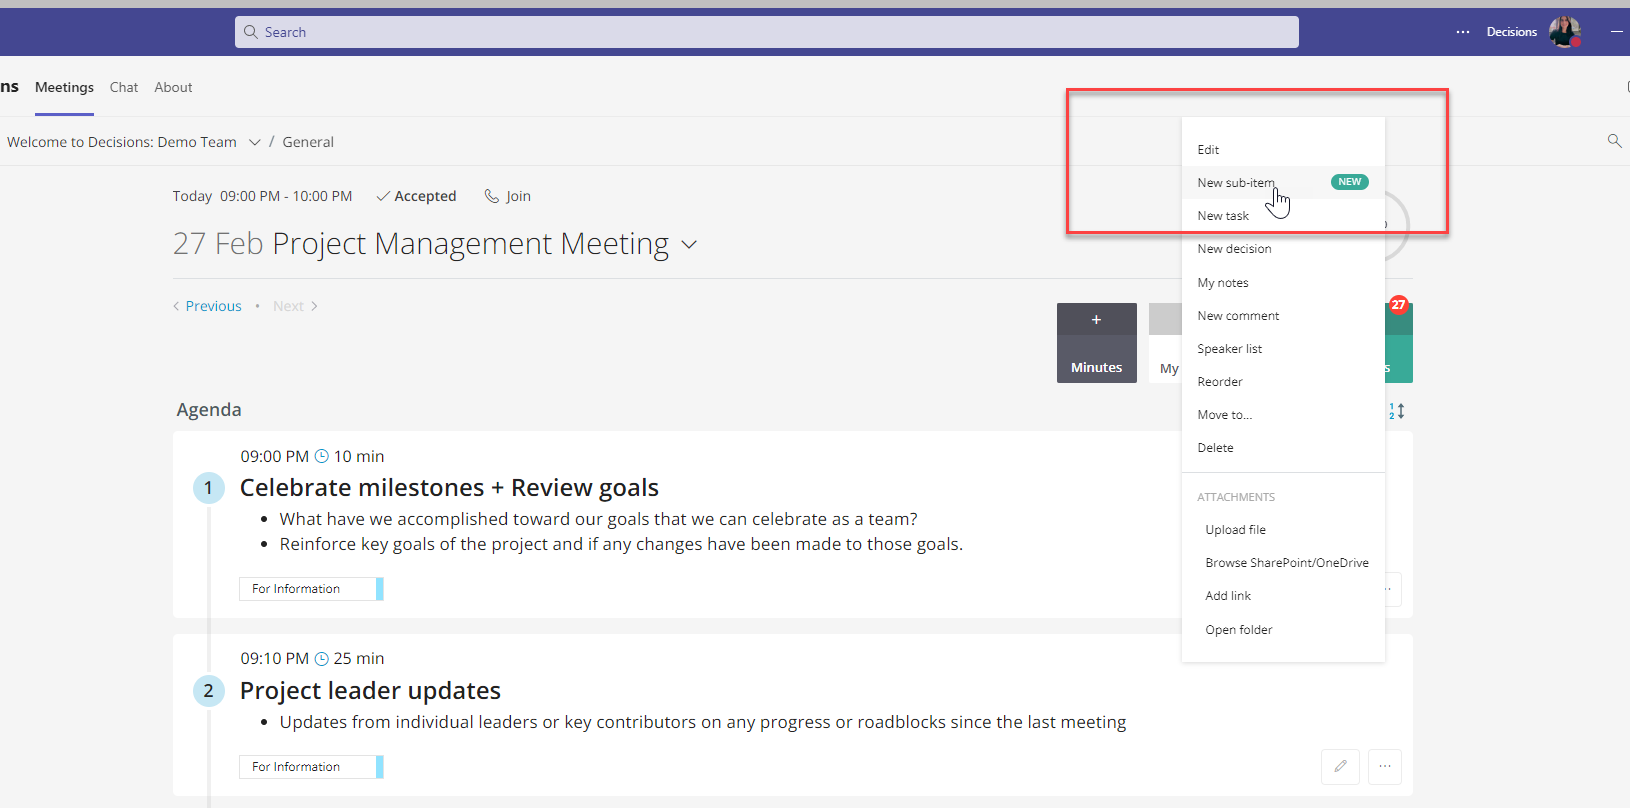
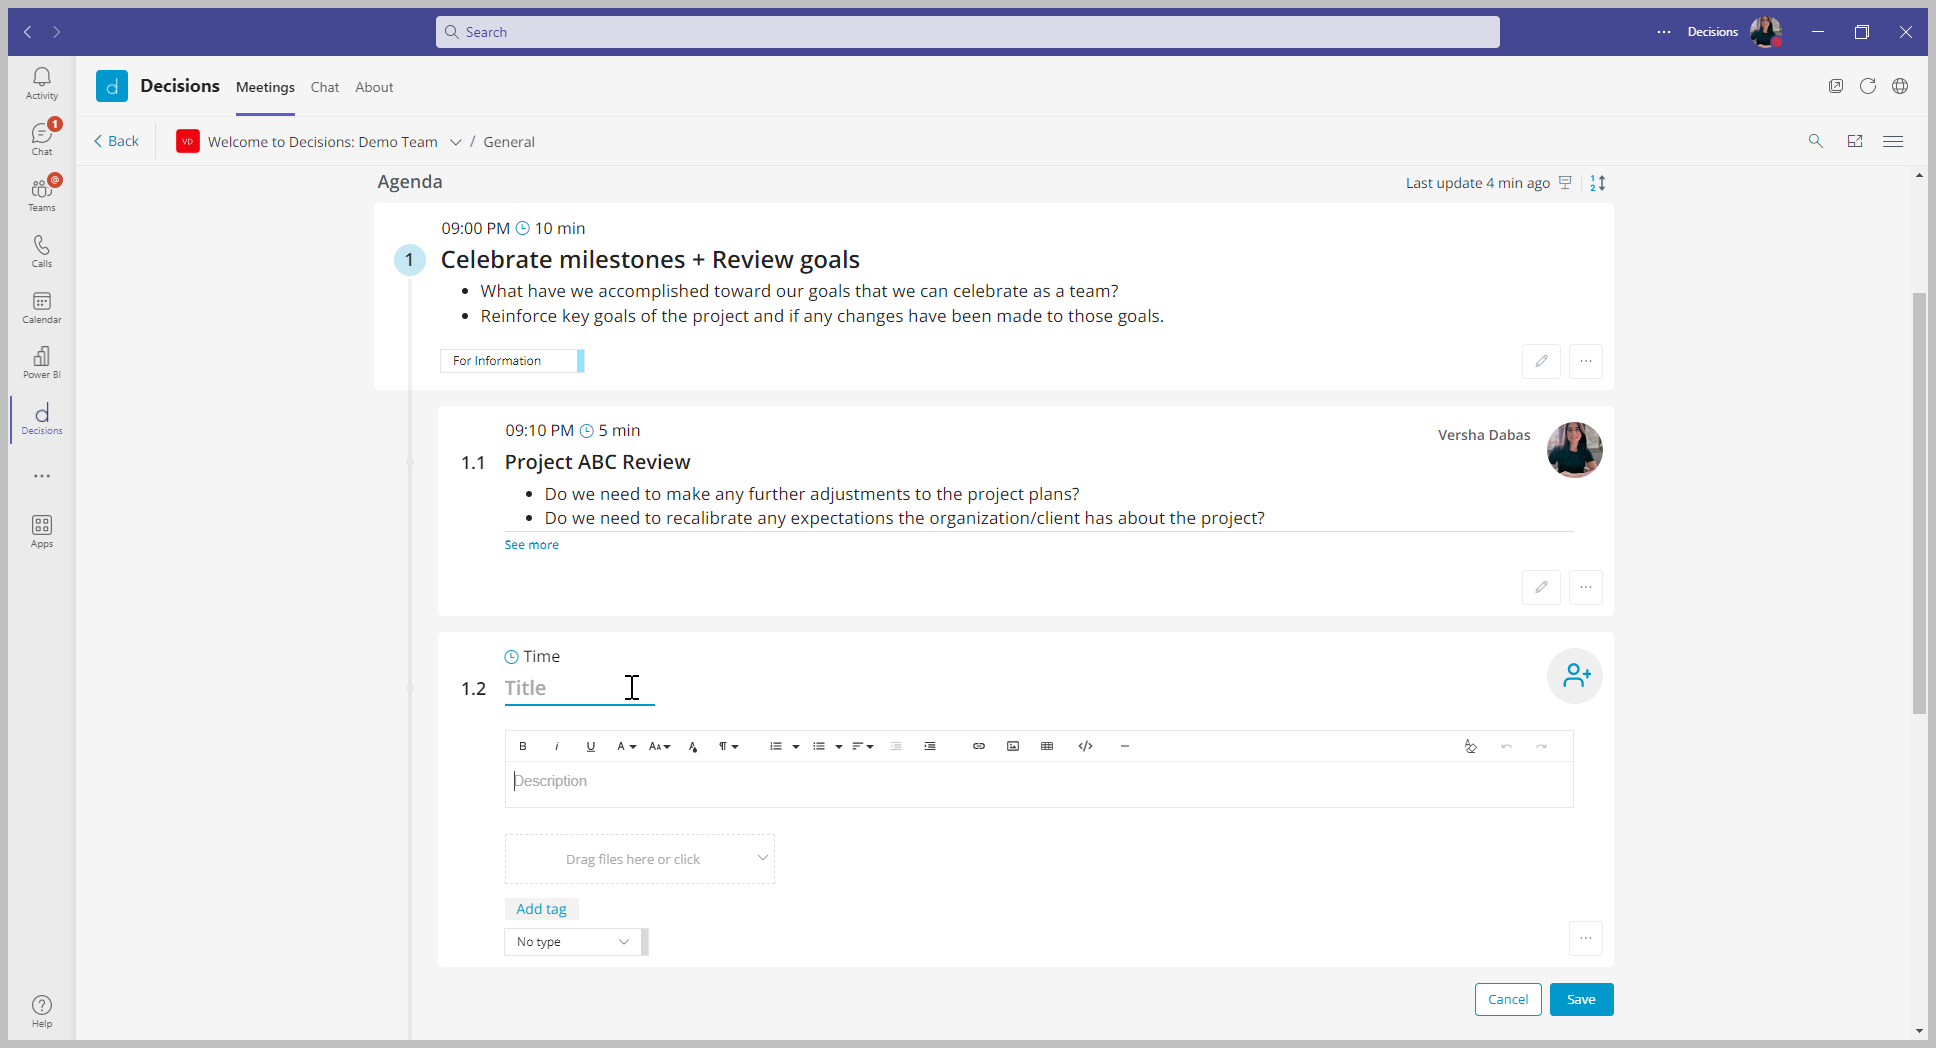
- An agenda sub-item will be created under a second-level heading. The sub-item will exist under the primary agenda item you first selected.
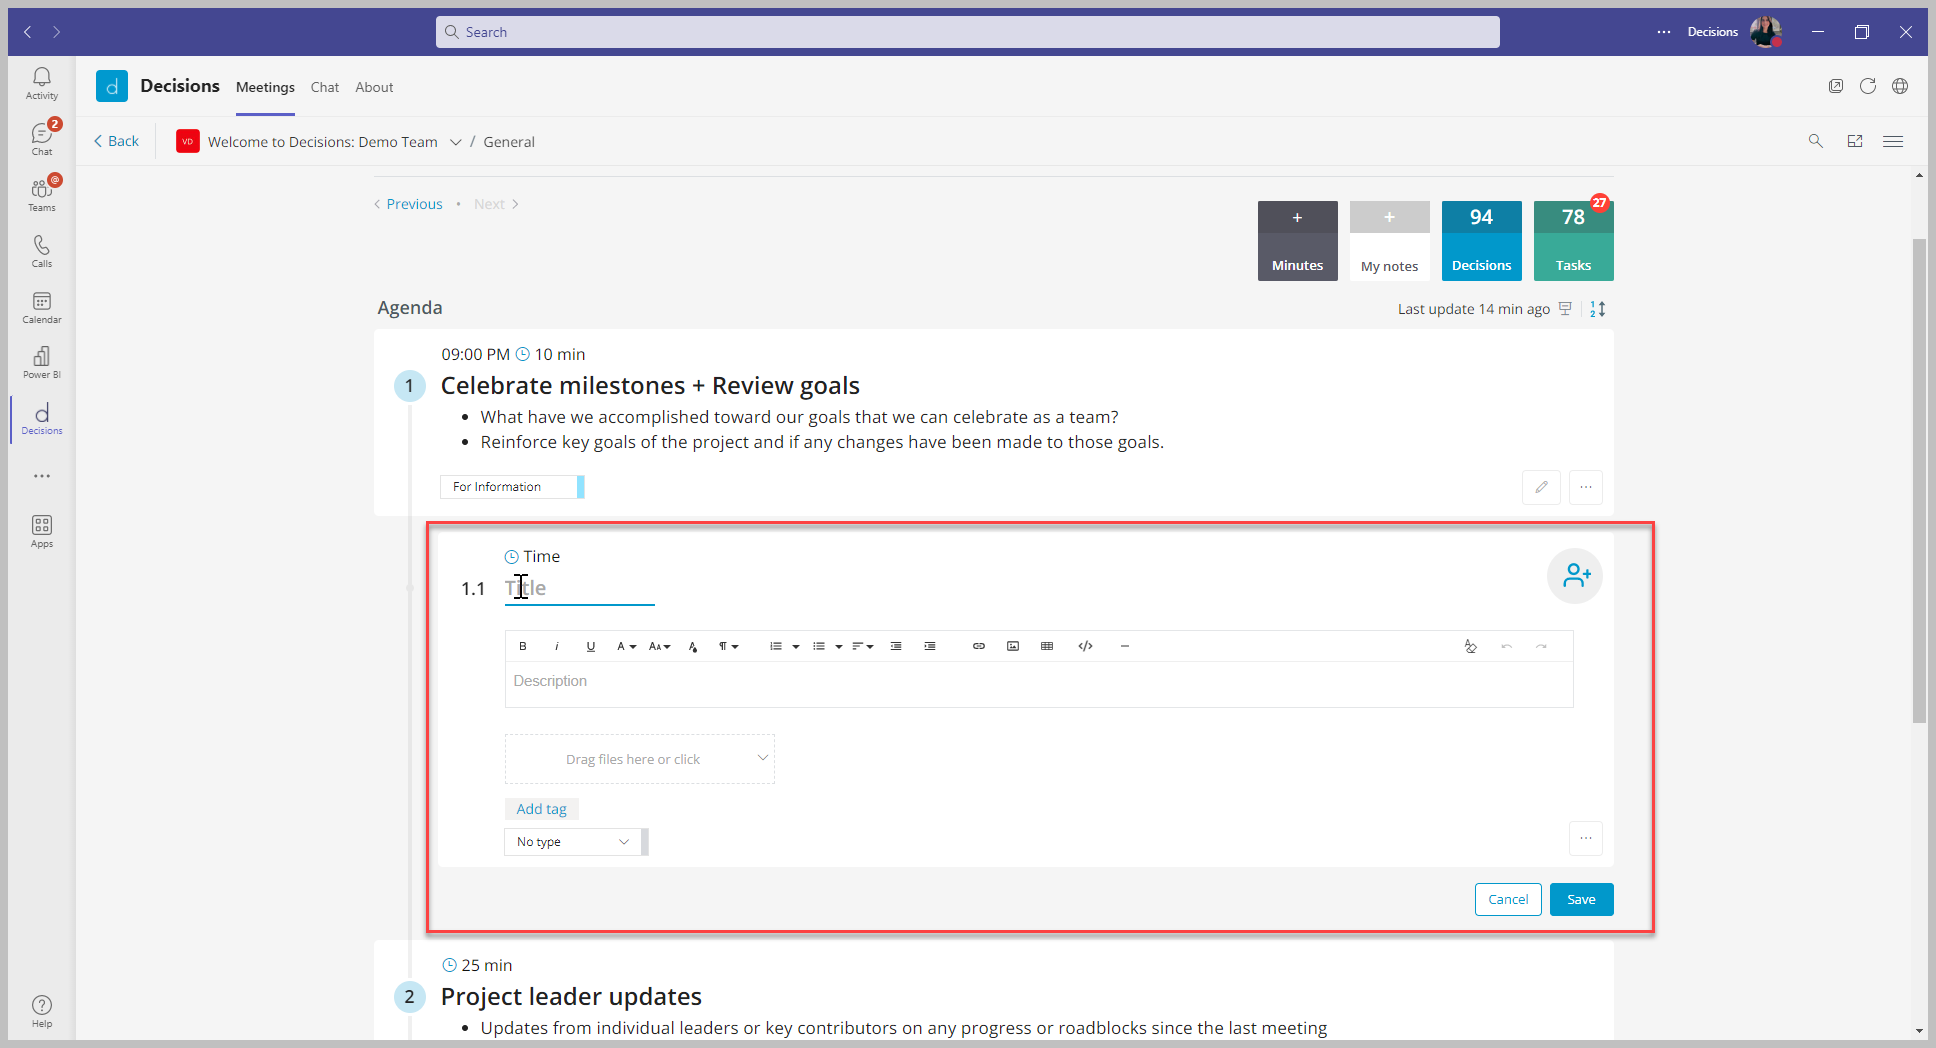
- Build out your sub-agenda item. Fill in the title for your sub-agenda item, add a description, allot time, add presenters, and upload documents, tags, and types. Save the sub-item by clicking the "Save" button in the lower right-hand corner of the agenda item.
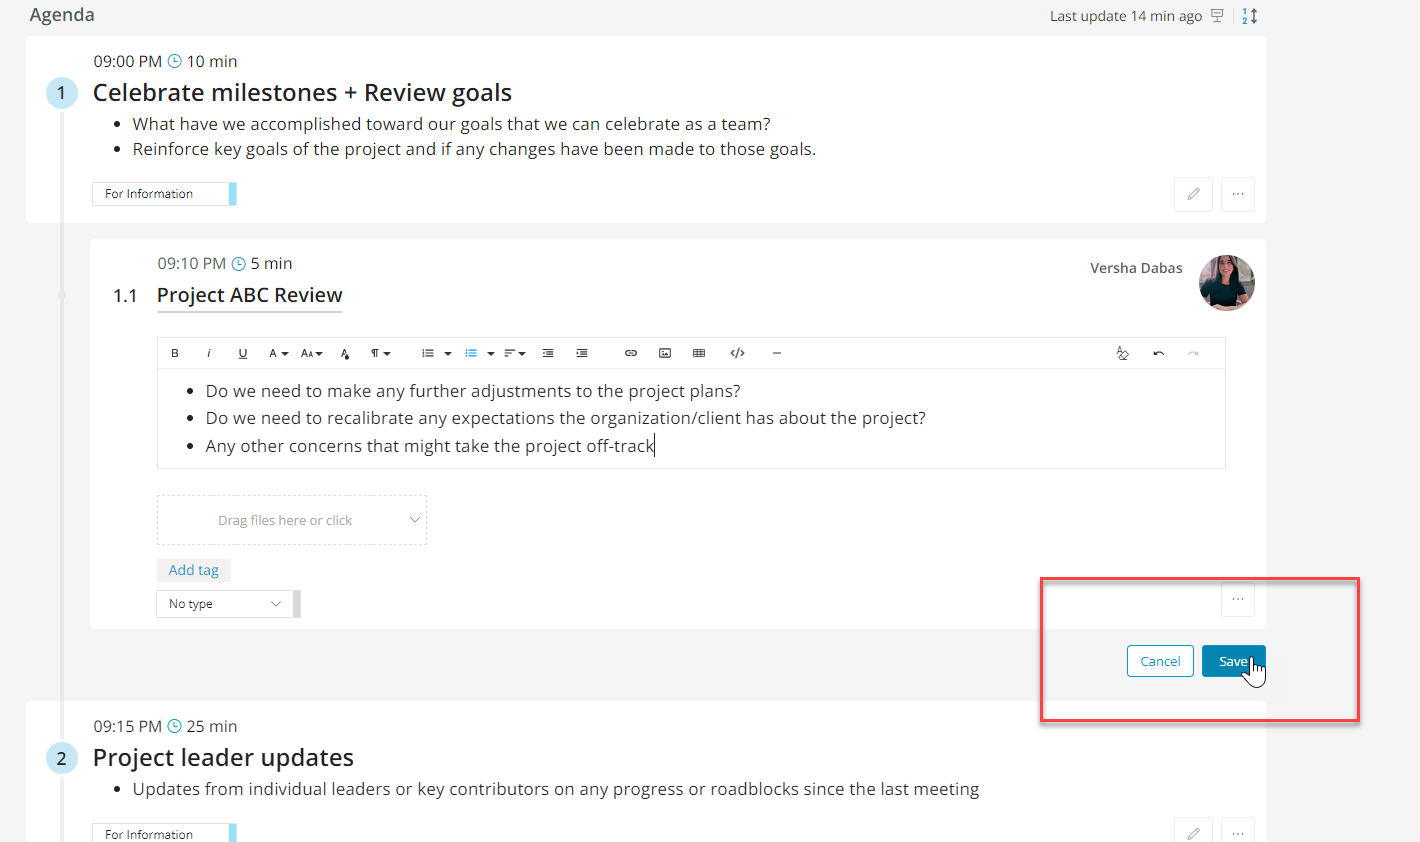
- To add another sub-item, click on the three-dot menu bar for more options.
- Select the new sub-item.
- Subsequent second-level headings will be added.
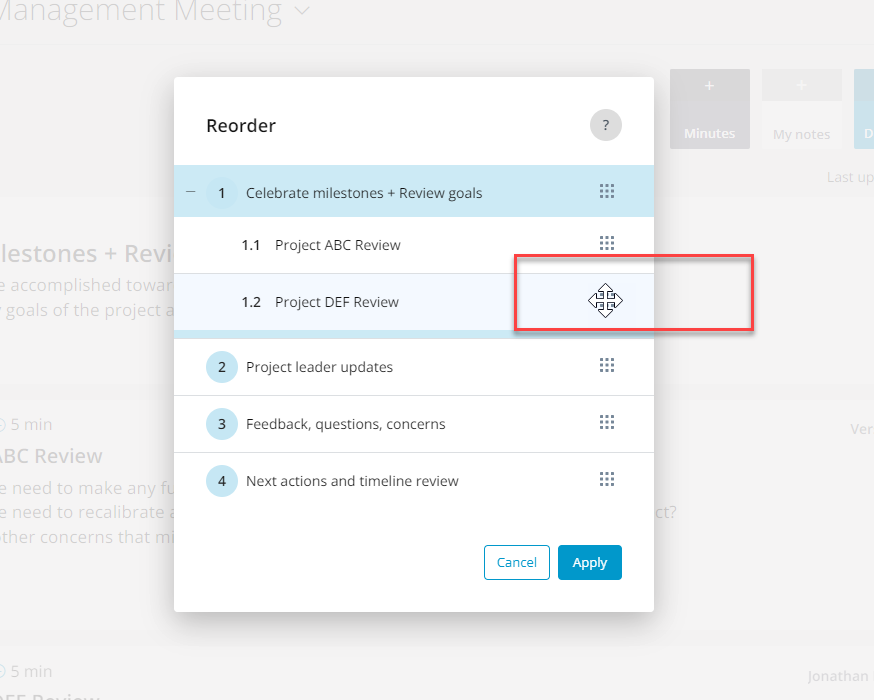
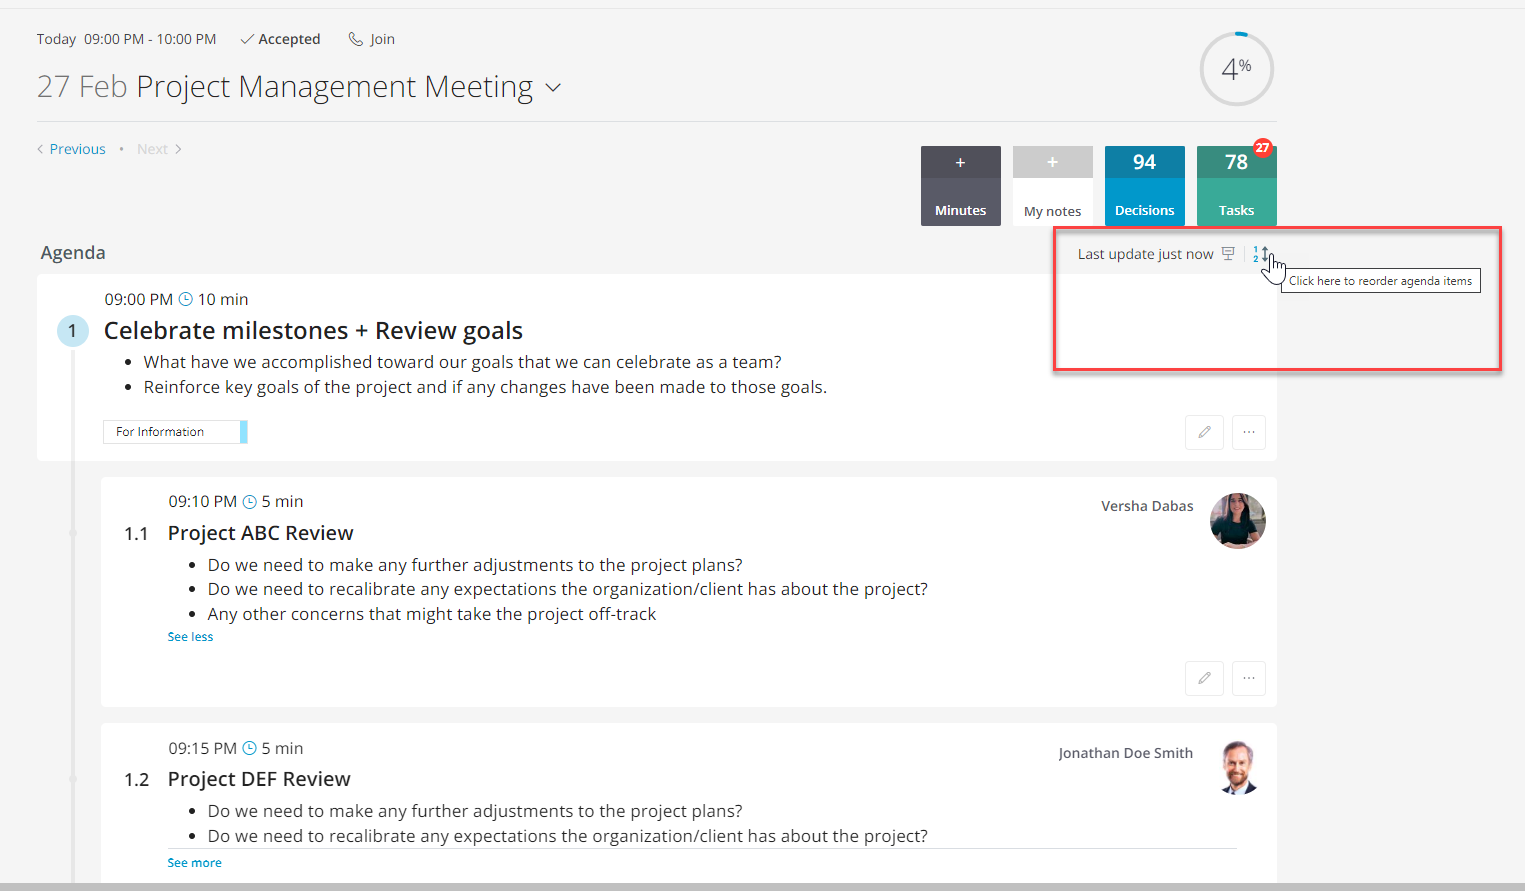
- To reorder sub-agenda items, click on the top reorder button.
- Drag & drop to move the sub-item to reorder your agenda, add the item to another agenda item, or move the sub-item into the main agenda.
