Note: If you haven’t Installed Decisions in Teams, then check out: Installing Decisions in Teams
- First, click on the Decisions icon in Teams
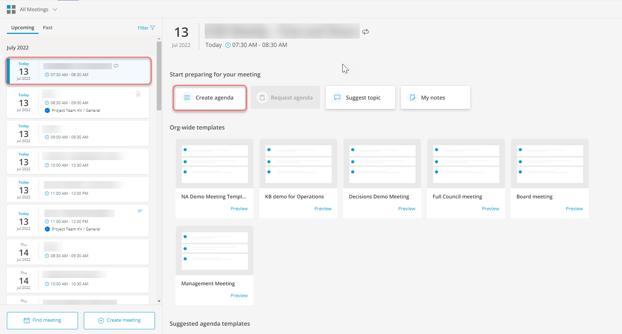
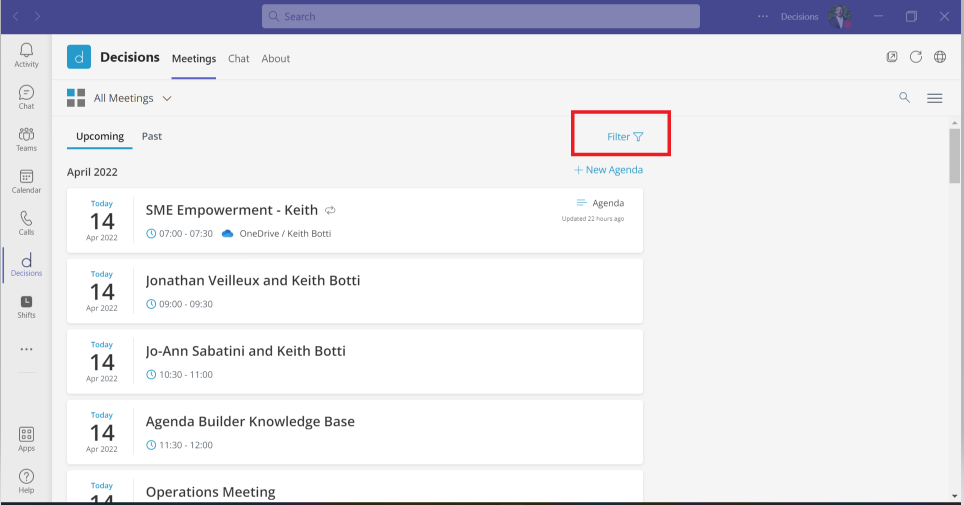
- A list of meetings from your calendar will appear, and you will see two tabs for your meetings: Upcoming & Past
- This view includes all the meetings you have organized or have been invited to
- To create a meeting agenda, click on a meeting from the list and select the Create Agenda button
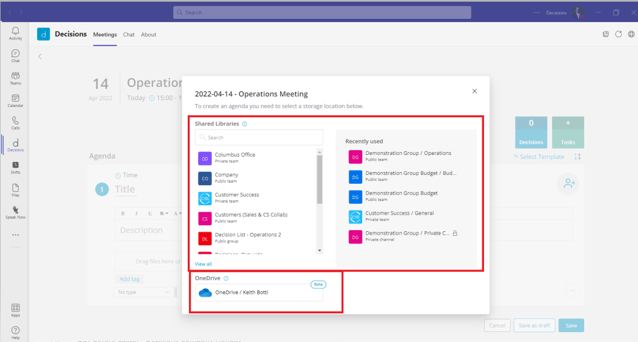
- Select a Team and Channel to store your meeting contents
- You also have the option to choose OneDrive as your storage location
NOTE: Using OneDrive will have some limitations on the Decisions features you can use. To unlock the full set of Decisions features, select a Team.
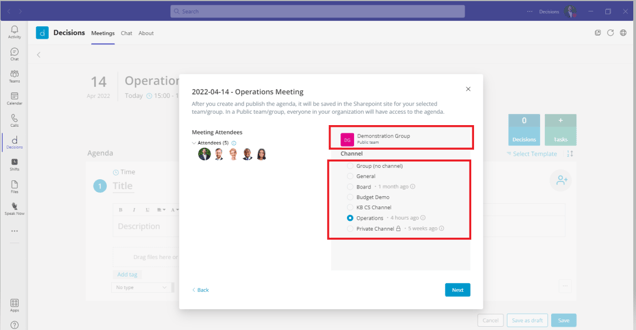
- After you choose your Team, select your channel and the agenda builder will appear.
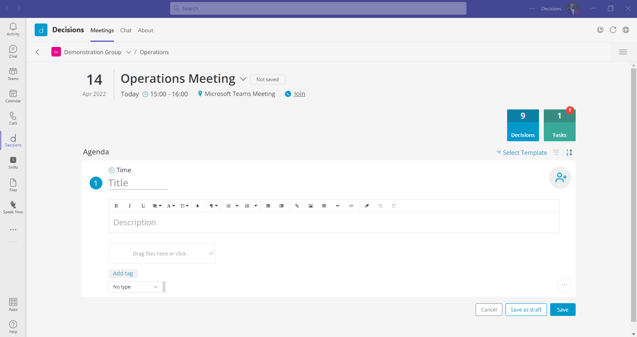
- Title your first agenda item and add all the relevant content, files, and details within each agenda item.
- This may include:
- Allocating time for each agenda item
- Designating speakers or leaders for each section
- Adding a description of the topic
- Attaching relevant materials such as PDFs, presentations, spreadsheets, or Word documents
- Tagging the agenda item to group like topics together
- Labeling the purpose of the agenda item
NOTE: If you want to explore the agenda item components in more detail, continue reading below
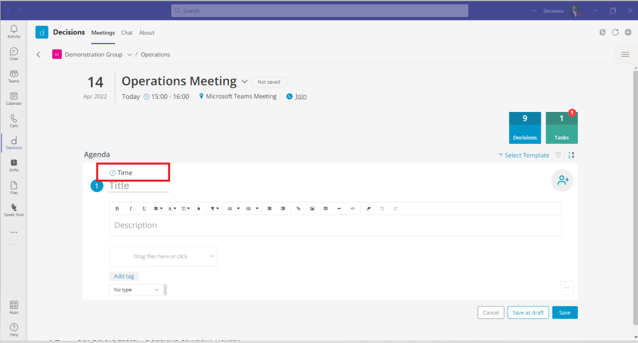
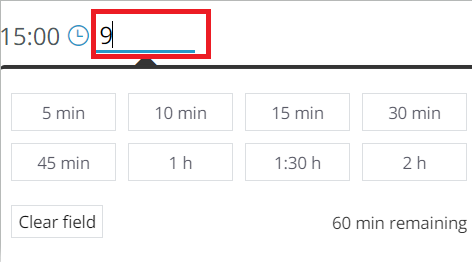
- Start by choosing an exact amount of time for your agenda item. When you conduct your meeting, Decisions Smart Time Tracker will run alongside your agenda item alerting you when the time for that section is almost up, keeping the meeting on pace and on topic.
- You can choose any of the prebuilt time allotments, or hard key a different allotment of time directly into Decisions.
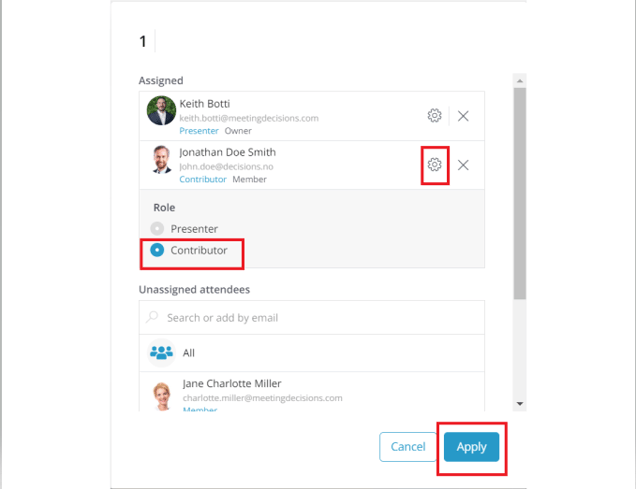
- Next, add presenters or collaborators to an agenda item by clicking on the person icon and choosing who you would like to assign from your team.
- These users will also be able to edit and add content to their agenda items.
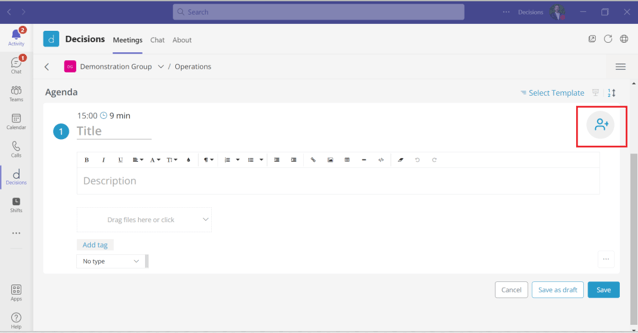
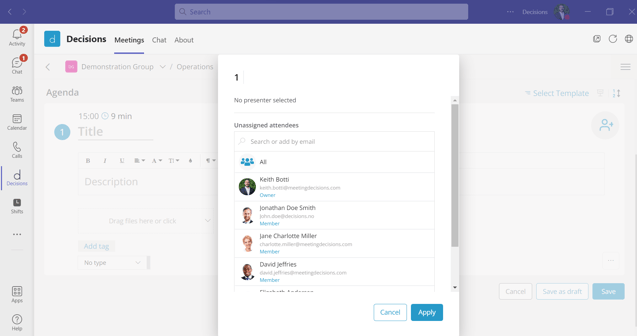
- You can select multiple people to present and also designate "Contributor(s)" by clicking on the gear icon, selecting the role, and clicking apply.
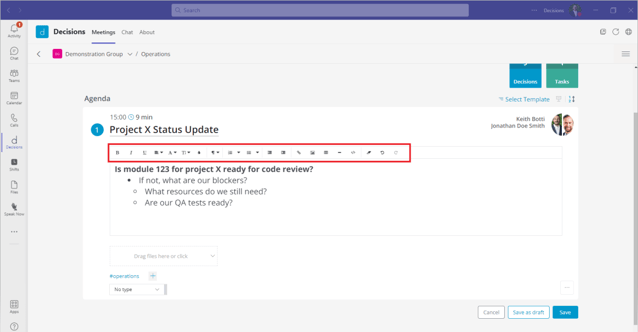
- Next, fill out your agenda item with a title and detailed description.
- You can change the font, format and add other content here such as graphs, images, or charts with the toolbar above the description section.
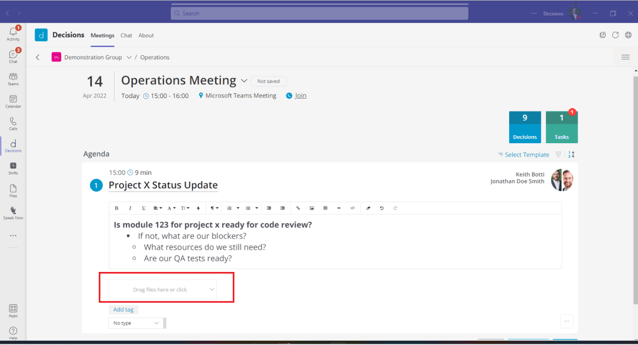
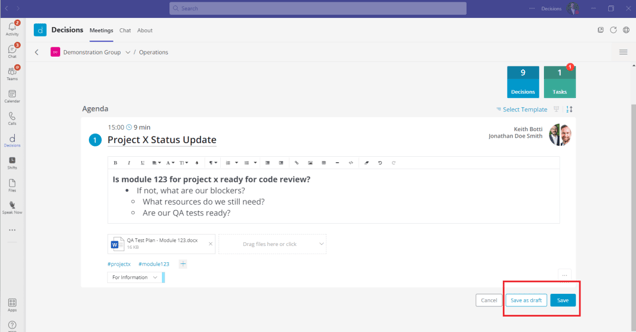
- You can then attach relevant files and links to the agenda item by uploading or dragging files here.
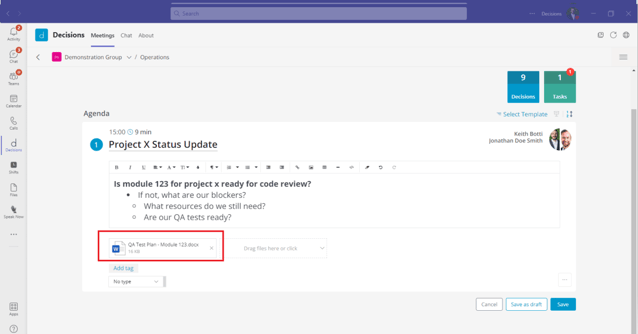
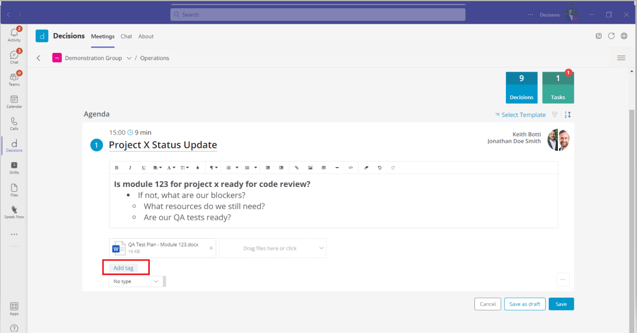
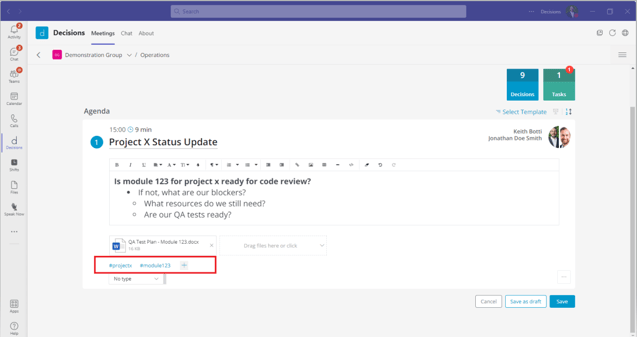
- To group similar agenda items together over time, you can add a hashtag to the bottom of your agenda item.
- When clicking on that hashtag in the future, you will see all other agenda items that have been tagged with the same word or phrase.
- You can add multiple hashtags as needed.
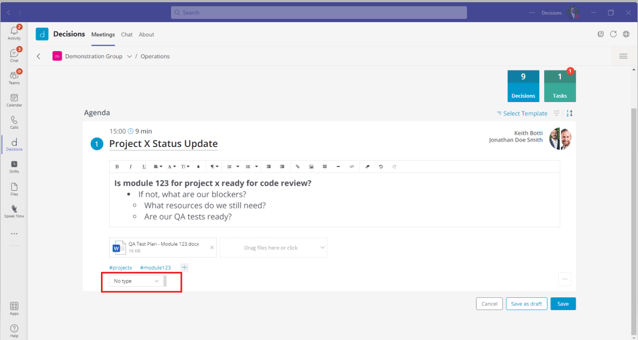
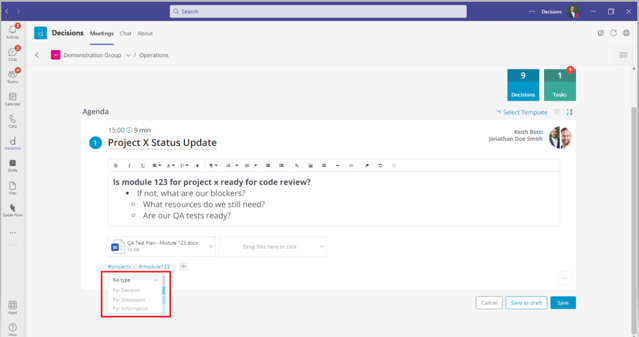
- The final drop-down menu allows you to mark the purpose for the agenda item.
- You can choose to "For Information", to "For Discussion", or "For Decision"
- You can then save the agenda as a draft in order to keep working on the agenda without publishing it to meeting attendees.
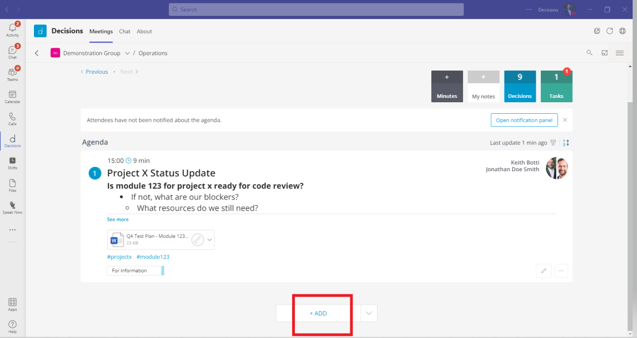
- To add a second agenda item. Click on the + Add button.
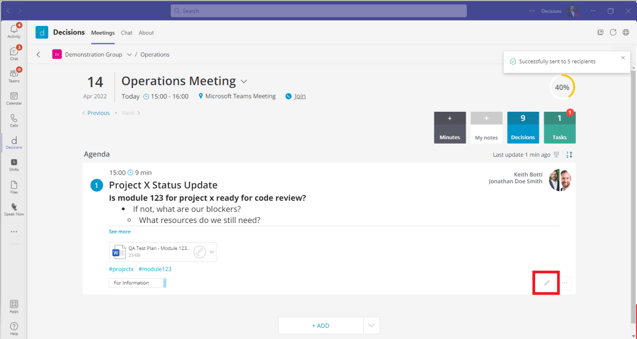
- Once the agenda is complete, you can publish the agenda and notify your attendees of the updates
- Even after publishing the agenda, you can always go back and add to it or edit each agenda item by clicking the pencil icon.
NOTE: If you don't see the meeting you are looking for, you can filter this list to only show meetings with an agenda, organized by you, with minutes, or cancelled meetings.
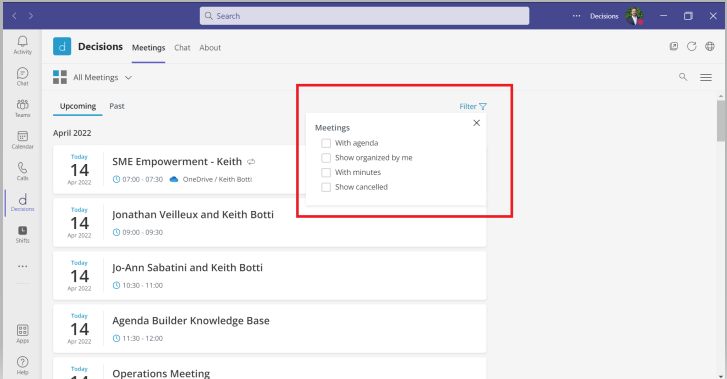
If you select more than one checkbox within the filters, Decisions will display ANY meeting that satisfies at least one of the criteria.
If you have any questions, please reach out to support@meetingdecisions.com