Add a tab
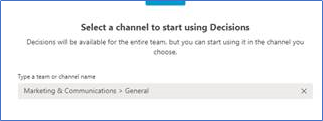
- Navigate to the Team/Channel where you want to use Decisions
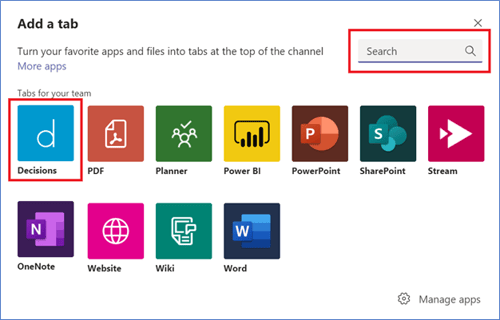
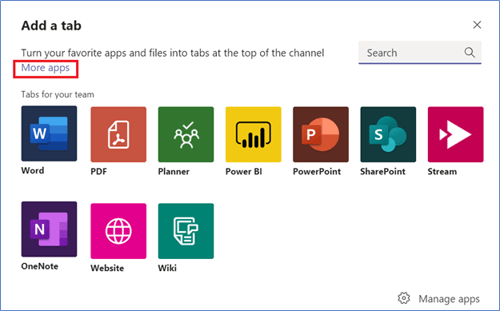
- Click the + to add tab

- Select or search for Decisions
- Choose to add the Meetings or Decisions tab
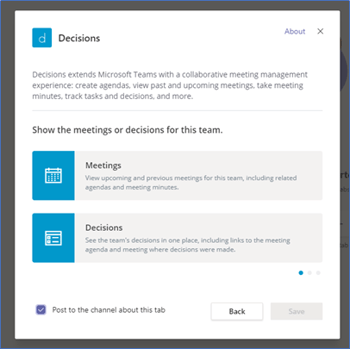
- We recommend adding both, but each must be added individually. Select “Meetings” first and repeat these steps to add “Decisions” later.
- Choose if you want to see All Meetings in that team, or just the Channel Meetings
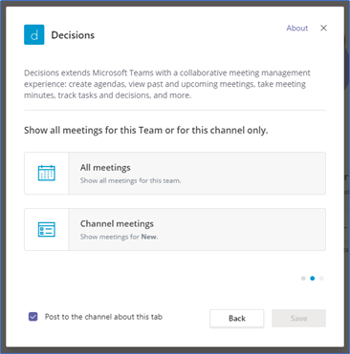
- If you plan to create meeting invites for this Team in Outlook, then it is suggested to choose All meetings
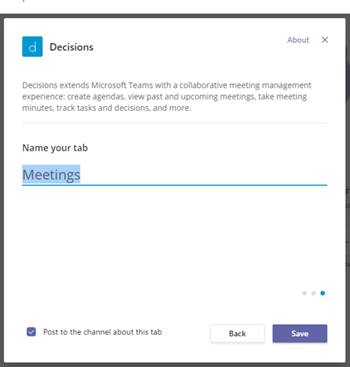
- Give your tab a name
What to do if you can’t find Decisions?
- Click on More apps, or Manage apps then More apps
- Search for Decisions
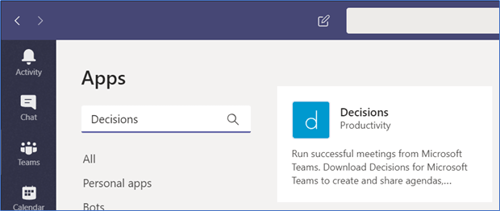
- Click on Decisions
- Click on the drop-down button next to Open and select Add to a team
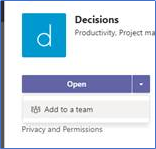
- Select the team where you want to add Decisions, and configure the tab as explained in the steps above